Today, I refashioned this:
It all started with the boots. I got these amazing boots on Black Friday. Since I've gained some weight (I really shouldn't have eaten all those sugar cookies while doing homework), I had been looking for a pair of cheap boots with an extended calf. Not that my calves were all that small before the weight gain, but I digress. I got this pair of boots at Payless.
The original price was $69.99 and I got them for $16.99! I know right? I couldn't believe it either! Anyhow, I got on Pinterest to find cute ways to wear my new favorite boots. I found this outfit that I LOVE:
I tried this look the other day. I went "shopping" in my boyfriend's closet to find a long sleeved dress shirt to wear under my grey cable knit sweater. It did NOT look good. And certainly not as cute as the above picture. It could have something to do with the fact that I'm about 6 sizes bigger (at least) than that model. But I'm also gonna say the bulk of both the shirt and the sweater was unflattering. After this, I decided to make a "Fooler Top" (A sweater with cuffs, a collar, and hem). I didn't realize this type of shirt had a name until I googled the description of it. I dug through my big pile of yardsale and goodwill clothes until I found a pink sweater that was too short from being shrunk in the dryer and a short sleeve dress shirt that was WAY too tight (see first picture....EEK!). I figured these two items would make a super cute Fooler Top.
Here's how I did it:
Before I did anything, I ironed the dress shirt. It's way easier to cut without all the wrinkles. Next I spread it out on the floor to mark and cut it. I started with the cuffs. My cuffs have two buttons and a slit above them. I marked 1" above the slit with blue chalk and cut the cuff off the shirt. Then I repeated it on the other cuff.
To cut the collar of the shirt off, I measured and marked 2.5" from the collar out towards the shoulder. Next, I made a mark between the 2nd and 3rd buttons on the shirt. I chalked a straight line from the marks on the shoulders to the mark in between the buttons.
Once the lines were marked, I cut through both layers of the shirt on the straight line.
For the hem, I put the sweater on top of the shirt to see how far I wanted the hem to stick out. Then I made a mark with the chalk so I would know later on where to sew the hem.
Next I measured 2.5" up the side seams and marked it with chalk. (This measurement is a preference. It all depends on how far you want the shirt tail to stick out from under the sweater.)
Once I measured and marked both sides, I made a line with chalk from one side to the other. Then I cut along the line.
This is what all the pieces look like after they are cut out.
The next step was to zig zag the raw edges with the sewing machine.
This is what the zig zagged edges will look like.
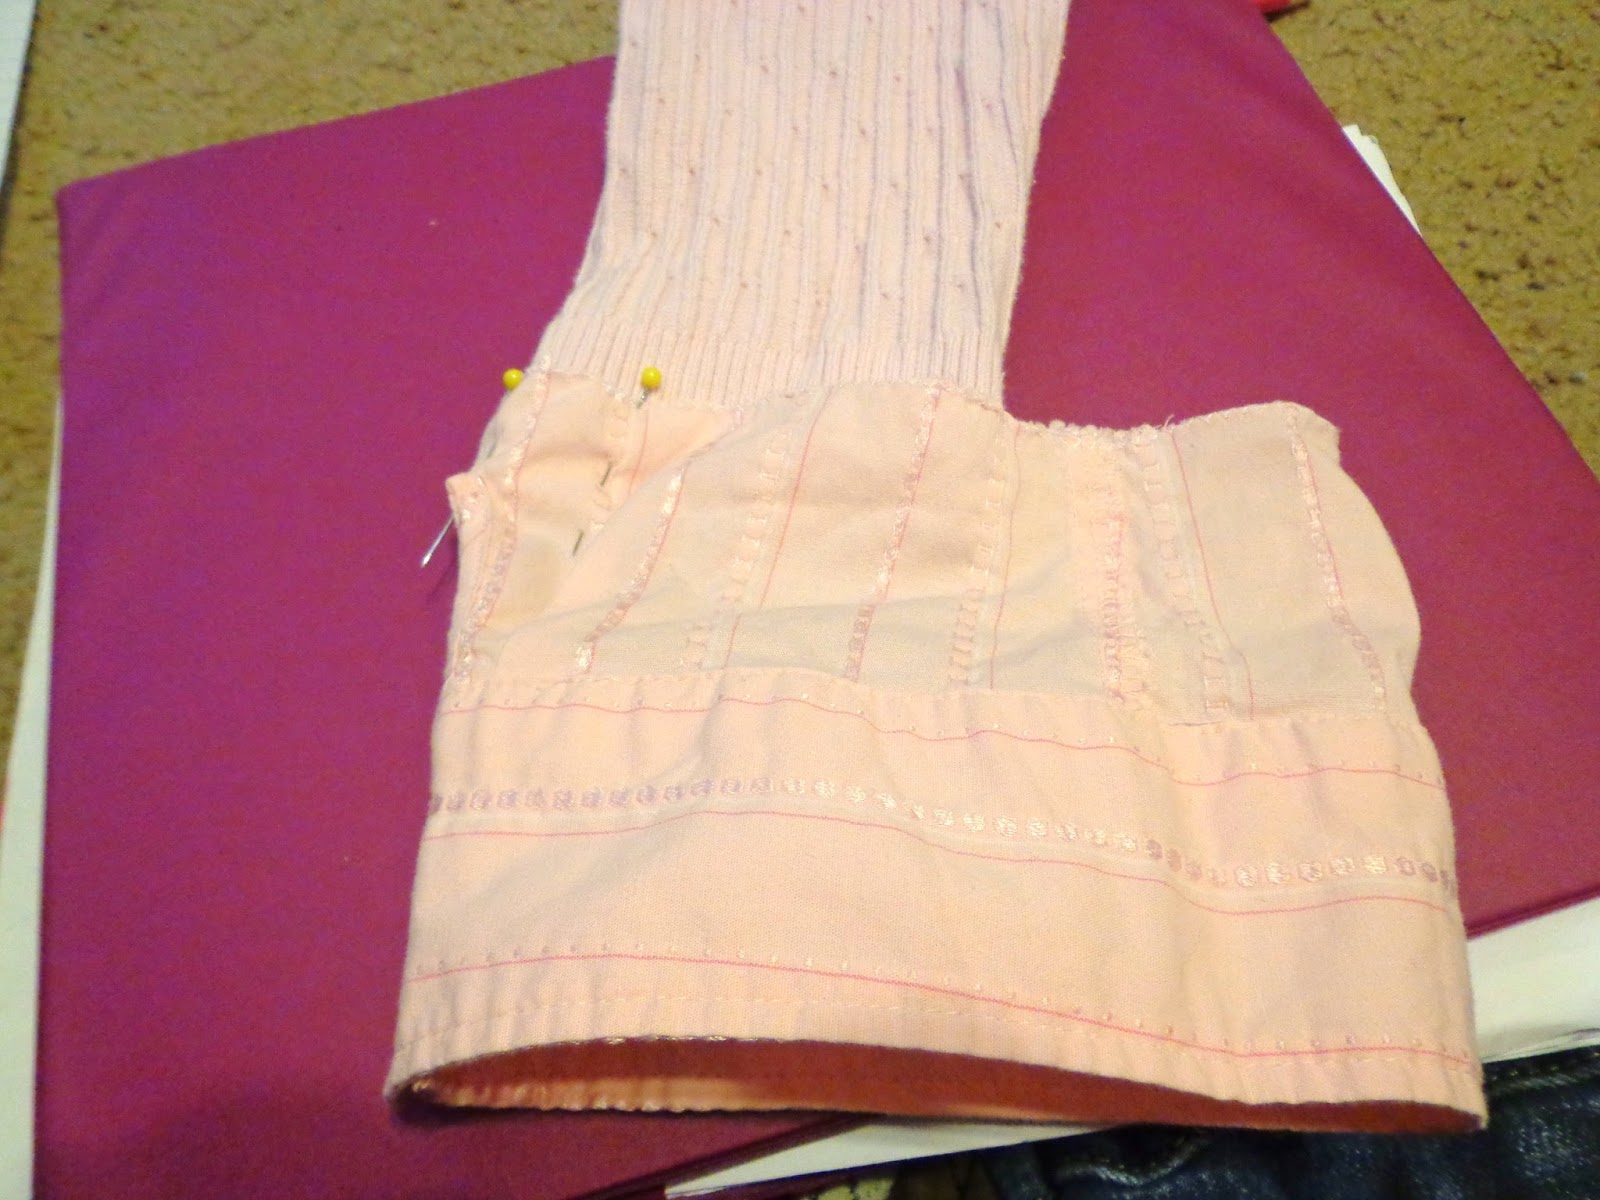
I ran into a problem here...The cuff from the dress shirt is way bigger than the sleeve of the sweater. So I pinned the dress shirt cuff to the sweater sleeve (sweater inside out and cuff right side out...I do it this way because the cuff will be folded up). And took off the excess material to make it match.
Next, I sewed the cuff to the sleeve. Then I did the same with the other cuff.
I pinned the collar to the sweater. I did this with the collar right side out and the sweater right side out so I could see where to sew.
I ran into another problem here. I sewed all along the seam of the neckline. However, when I tried the sweater on, my head wouldn't fit through the neckhole. So, I took a little bit of the front seam out with my seam ripper. Then I unbuttoned the collar completely, strategically placed and sewed both sides of the button placket to the sweater by hand with a few stitches. You can see where I hand sewed with grey thread in the above picture.
To sew the shirt tail on, I spread it out against the hem of the sweater.
Since the shirt tail was smaller than the sweater, I cut the front and back of the shirt tail apart.
Lastly,
I pinned the shirt tail to the sweater where I thought it looked nice and sewed all the way around.
Now I have a top that I like and will actually wear and I think it came out close to the style of the Pinterest picture. It was alot easier to do than I imagined it would be and I think it looks totes presh with my new boots! ;)


No comments:
Post a Comment