I have had this fabric for a while now.

I believe I bought it at a yardsale last year. I know I didn't spend alot. I think it was less than a dollar. And I'm not sure how much there was. If I had to guess (and that's what I'm doing because, like an idiot, I didn't measure this before I started cutting), I would say it was about a yard of fabric.
I knew I wanted to make something to wear. I've searched and searched for the perfect tutorial, and I never really found one I was in love with. So today, I decided to make a tunic for my daughter without the help of a tutorial. What I really love about this is I didn't have to put in sleeves!
The materials I needed for this were:
Fabric- I had about a yard of knit fabric...but it just depends on the size of the shirt
Thread - a color that goes with your fabric
Elastic - I used 1/4" wide for the sleeves and 1/2" wide for the waist
Scissors
Stick Pins
Sewing Machine
Measuring Tape
And a tshirt that fits to use as a pattern
I folded my fabric in half. I pinned the open sides together so the fabric wouldn't move around while I was cutting out the tunic.

I grabbed a tshirt from my daughter's closet. I chose one that fit comfortably and was a little long on her.
I lined up the shoulders of the shirt on the fold of the fabric.

I pinned the shirt down face down. I used a piece of red chalk to outline the tshirt. I left about an inch between the top of the shirt and the outline. This was to make sure the tunic was a little loose and for a 1/4" seam allowance I drew a curved line where the armpit is. From the armpit to the bottom of the shirt, I flaired out my outline. I wanted the shape to be more like a dress than a tshirt. I freehanded the outline. Once I finished outlining, I marked where the neckline of the tshirt was with 2 chalk marks.

Next, I cut along the chalk line. Be sure to keep the shoulder seams uncut, so once it's cut out, it will be all one piece.
I cut the neckline into a boatneck style. I did this by measuring about 1/2" from the chalk mark I made at the neck and scooping down just a little until I reached 1/2" past the other chalk mark on the neckline.

To sew the tunic, I flipped it. With the right sides together, I sewed up the sides, bottom of the sleeves and at the top of the sleeves.
At this point, I had my daughter try it on to make sure I didn't make any mistakes.
While she had it on, I measured from her shoulder to a little above her waist. This is where I will place the elastic.
With the shirt inside out, I chalked a straight line where I decided to put the elastic. This will be the guide used when sewing the elastic into the tunic. This line needs to be straight all the way around or it will be noticeable once the elastic is sewn on.

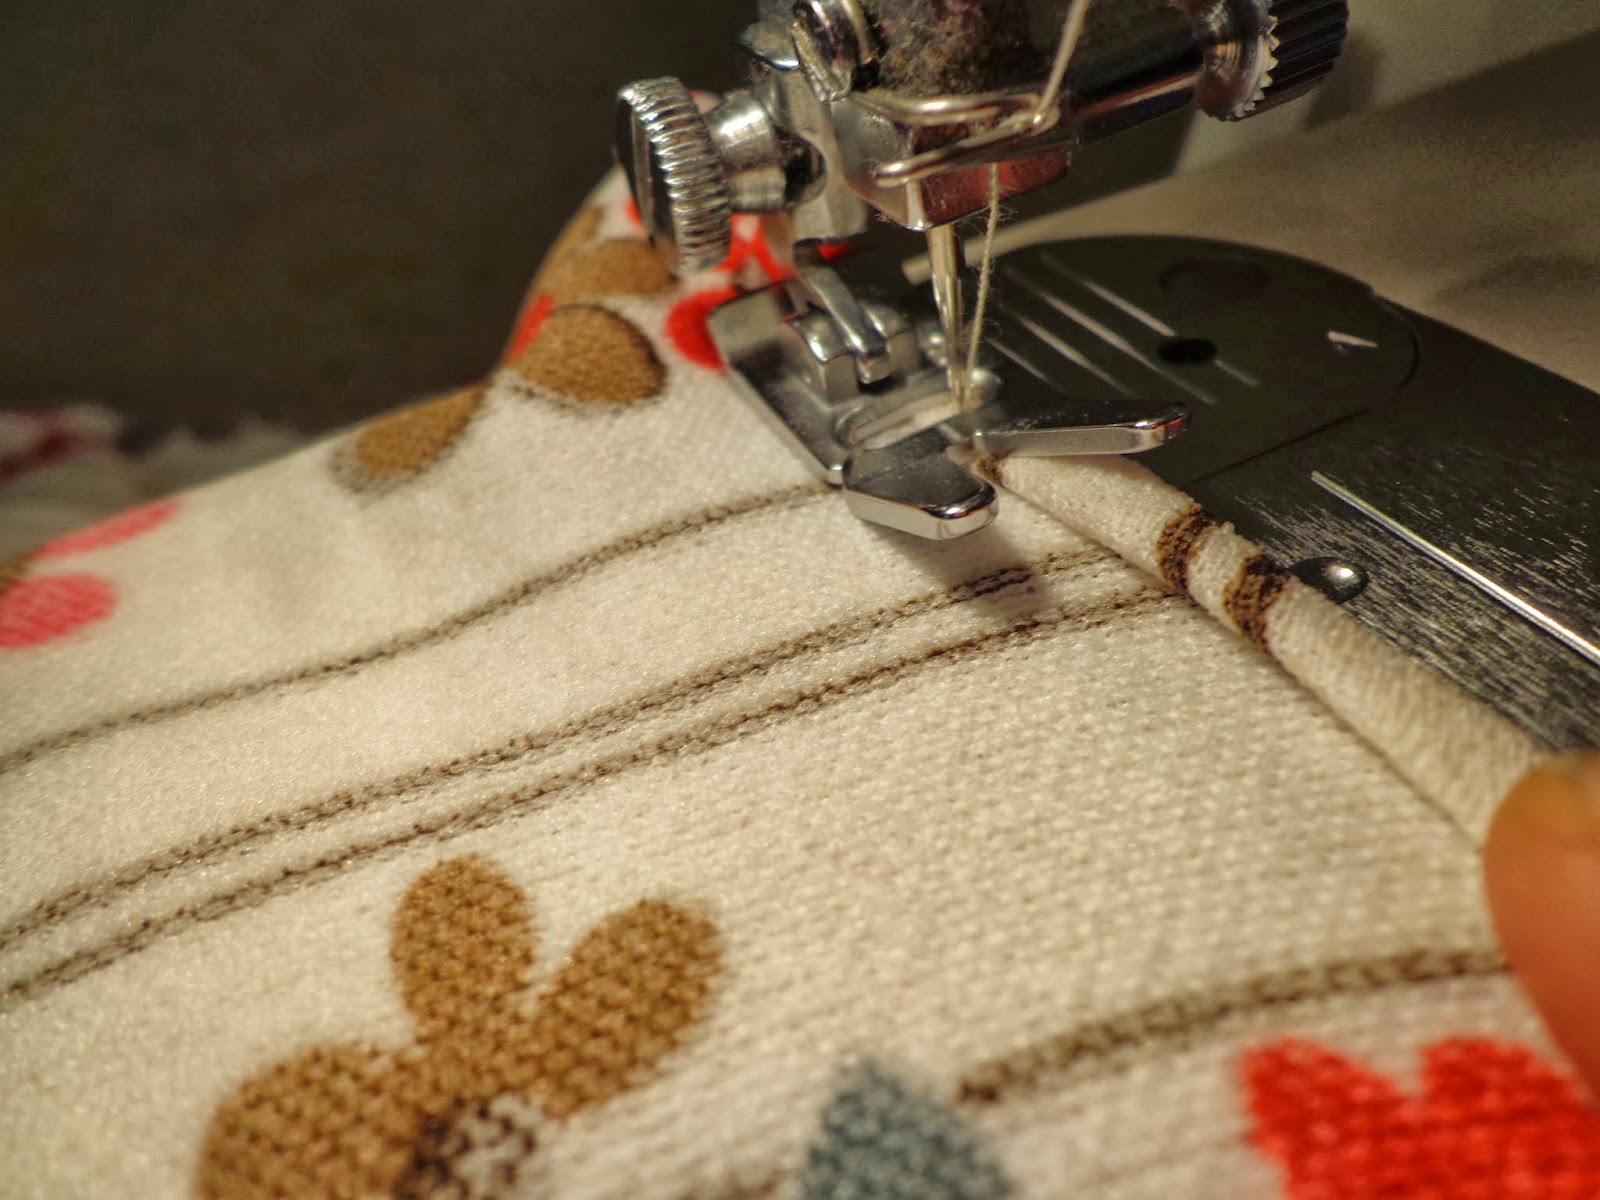
I measured around my daughter to get a measurement for the elastic. I subtracted 1 inch from this measurement. I cut the elastic that length. I pinned the end of the elastic to the side seam of the shirt and started sewing all the way around. I stretched the elastic while sewing to give it a gathered look. When doing this, remember to stretch the elastic with one hand and guide the fabric through the machine with the other.
This is what it will look like on the inside after the elastic is sewn on.

When I sewed all the way around, I had my daughter try on the shirt AGAIN to make sure it looked even.
With the tunic inside out, I sewed a small piece of elastic (probably 3-4" long) on the top seam of the sleeve. I did this by stretching the elastic while sewing.

This is how it should look after the elastic is sewn on

The only thing left to do was finish the raw edges of the sleeves, neckline, and bottom of the tunic.
This tunic from start to finish only took about an hour, but it is super comfy and totally adorable! =)

***If you have some time, swing by my Zibbet shop and take a look around!***
http://www.zibbet.com/TheRufflyBuffalo