
A girl and $7.82 walk into a Goodwill....
Don't all good refashion stories start this way? =)
My facebook friend, Robin, suggested a refashion project of bleaching and dyeing jeans a pastel color. When I saw it, I totes wanted to try it. (Yes, I said "totes" and no, I don't care that I'm probs too old to use that slang.)
Anyhow, I decided that I needed a pair of light purple jeans. It was a toss up between light purple and mint green. But I thought light purple would be easier to achieve. Green dye could have accidentally produced lime green or kelly green (neither of which are a good look on me.)
So I spent Tuesday morning looking through every pair of women's jeans at Goodwill.
I ended up finding a pair of Tommy Hilfiger jeans in my "Goodwill size". What's a "Goodwill size", you ask? Well, you see, it's a size or two bigger than I normally wear. I found that I need to purchase things in my Goodwill size because alot of the clothes donated to Goodwill have been shrunk. Seriously, they should just call the place "Shrunken Treasures".
I made sure my jeans were 100% cotton. I read online that jeans with lycra, spandex and all that stretchy material would just shred when bleached.
So if you do this, make sure you have jeans that are 100% cotton.
I decided on a pair of mom jeans from the 90's.
I'm also gonna (hopefully) refashion that sweater that I'm wearing in the above picture. Which I'm pretty sure also came from the 90's. If I put on some Bass Buc shoes and a huge gold herringbone chain and I'll feel like I'm back in high school.
To get started, I needed the following:
A big Rubbermaid tote
bleach (not color safe)
the jeans
fabric dye...I used Rit
Some sort of measuring cup (I used 1 cup)
Ignore the hydrogen peroxide...I was gonna use it to neutralize the bleach but didn't do it.

 |
| The jeans before |
 |
| Another pic of the jeans before |
To start, I needed to bleach the jeans before I dyed them.
In the tub, I mixed 3 parts lukewarm water with 1 part bleach.
I kept them in this tub for 4 hours. **Note, you might want to do this part outside or in a garage. Especially if you live in a small space. The bleach smell is strong.**

After the 4 hours, I removed the jeans, dumped out the bleach water, and put my jeans in the washer for a rinse and spin only...no detergent. Then I put them in the dryer. (I now realize I probably shouldn't have dried them...it made them pretty snug at the end of the process.)
 |
| This is how they looked after the first bleaching, rinsing, drying cycle. |
 |
| A close up after the first bleaching, rinsing, drying cycle. |
I added a new batch of bleach/water mix and put in the jeans.
This time I left them in there for 5 hours. Then I rinsed in the washer (no detergent) and dried them in the dryer.

 |
| This is how they look after the second bleaching, rinsing, and drying. |
 |
| Another close up. |
Ok, I should have actually done two more bleaching cycles. 1 for 10 hours and another for 11 hours. However, I stopped here for 2 reasons.
1) Since I was dyeing the jeans purple, I figured it would be ok to leave a little bit of blue on the jeans.
and
2) Do you see the white spots around the edges of the pockets in the picture below? The fabric was pretty thin there and I didn't want the bleach causing any holes.
Something that happened that I didn't expect was the bleach totally wiped the Tommy logo off the leather patch. Weird huh?

Now, onto the dye...
I used the same rubbermaid tote (I rinsed it alot after I poured the bleach water out).
I followed the instructions on the Rit dye bottle..sort of. I mixed everything the way it said to, but it said to stir the jeans in the dye for 30-60 minutes. I did not do this. I had planned to stir the jeans for 20 minutes since I just wanted light purple. However, when I added the jeans to the dye, it started turning, like, Barney purple within 5-7 minutes. When I realized it was already medium purple, I stopped right then. I rinsed the jeans until the water ran clear. I did this part in my yard with my water hose. I didn't want to stain my bath tub. Once the water ran clear, I washed the jeans in the washing machine with detergent and then put them in the dryer.
 |
| When I put the jeans in the dye |
 |
| After I rinsed them until the water ran clear. |
 |
| What the jeans looked like after I washed them in detergent. |
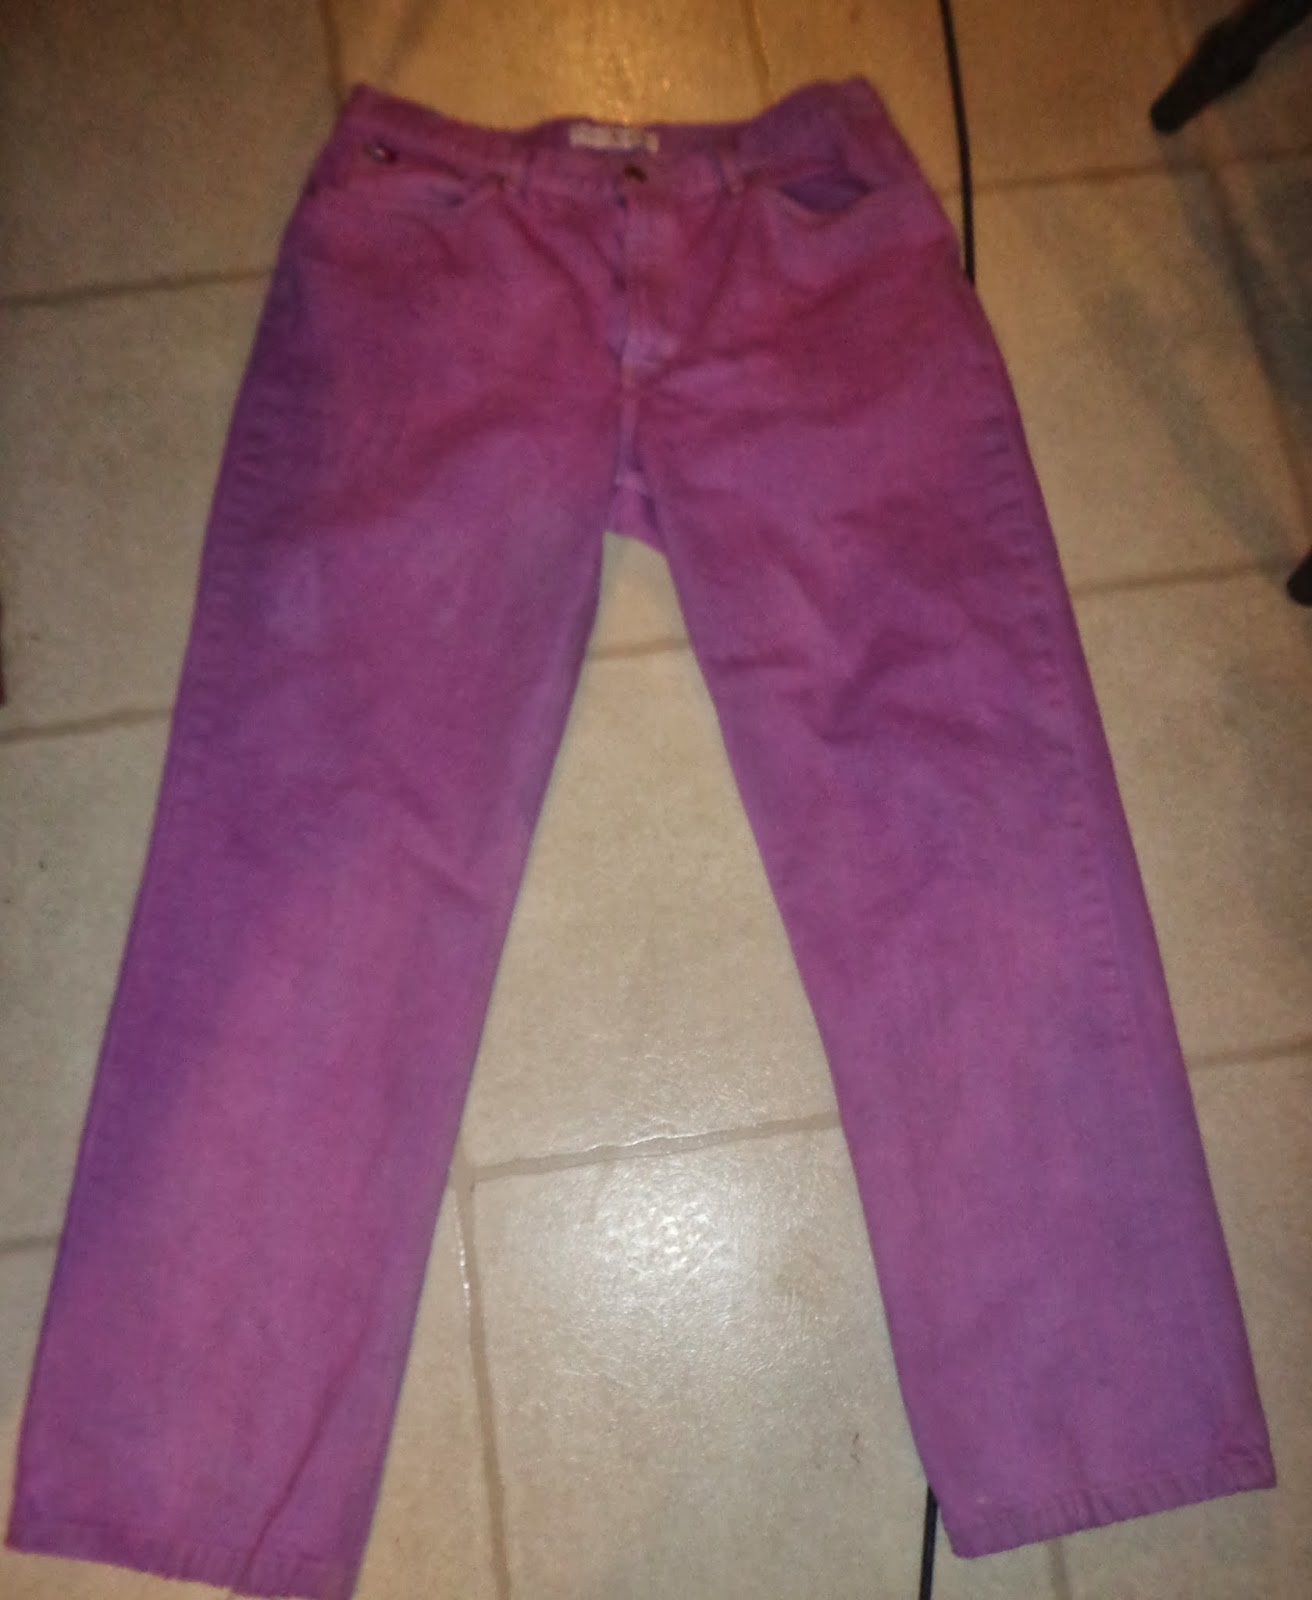 |
| The jeans after the final wash and dry |
 |
| The final color of the jeans |
Now, to turn the Mom jeans into a lower rise straight leg jean.
First, try on the jeans inside out. With straight pins, pin the jeans close to the leg. Starting at one ankle and working your way to the other ankle. Also pin the crotch. I had to take the pants off to pin my jeans. Once pinned, turn the jeans inside out to check that everything looks ok. Also, carefully try them on to make sure the fit is ok. Be supes careful though, I shoved a straight pin into my leg when I tried them on.

If everything looks and feels ok, it's time to sew.
Sew along the pinned line. Once that is sewn, turn the jeans right side out and try them on. If everything is good, cut the excess fabric off. Now sew a zig zag seam on the raw edges where you just cut.
 |
| Like the hello kitty machine? It's actually my 6 year old daughter's machine. I had to borrow hers because the needle on mine broke. =( |
 |
| This is what the straight seams and zig zag seams look like. |
Now I have a pair of purple jeans with a lower waist and straighter legs! ( And they only cost $4.69 for the jeans and $2.96 for the dye!)
Doesn't that sound easy? =)
I hope this tutorial made sense. I've been sick for the past 2 days and feel a little loopy. So if you have any questions about this tutorial, just ask and I'll try to help. =)
 |
| I rolled up the jeans a little. They were kind of long. Thanks for reading! **If you have some time, check out my zibbet shop!** www.zibbet.com/TheRufflyBuffalo
|