Showing posts with label jeans refashion. Show all posts

Monday, June 30, 2014

DIY Summer Shorts Refashion Tutorial ~ 3 Different Hem Styles ~


There are lots of reasons one might want to make their own shorts from jeans or pants. 
The biggest complaint I've heard from my friends is they can't buy jean shorts for their kids that are long enough.  This would be perfect for that problem!  
Other reasons would be if you get a hole or a stain in the knee or bottom part of the leg of your pants.
Another reason would be if your child grew up but not out and their pants were now too short. Making them shorts would be a great solution. 
I  just want to point out, I've saved so much money refashioning clothes instead of buying brand new.
I really only shop at thrift shops and yard sales anymore.
Refashioning is a real money saver! =)
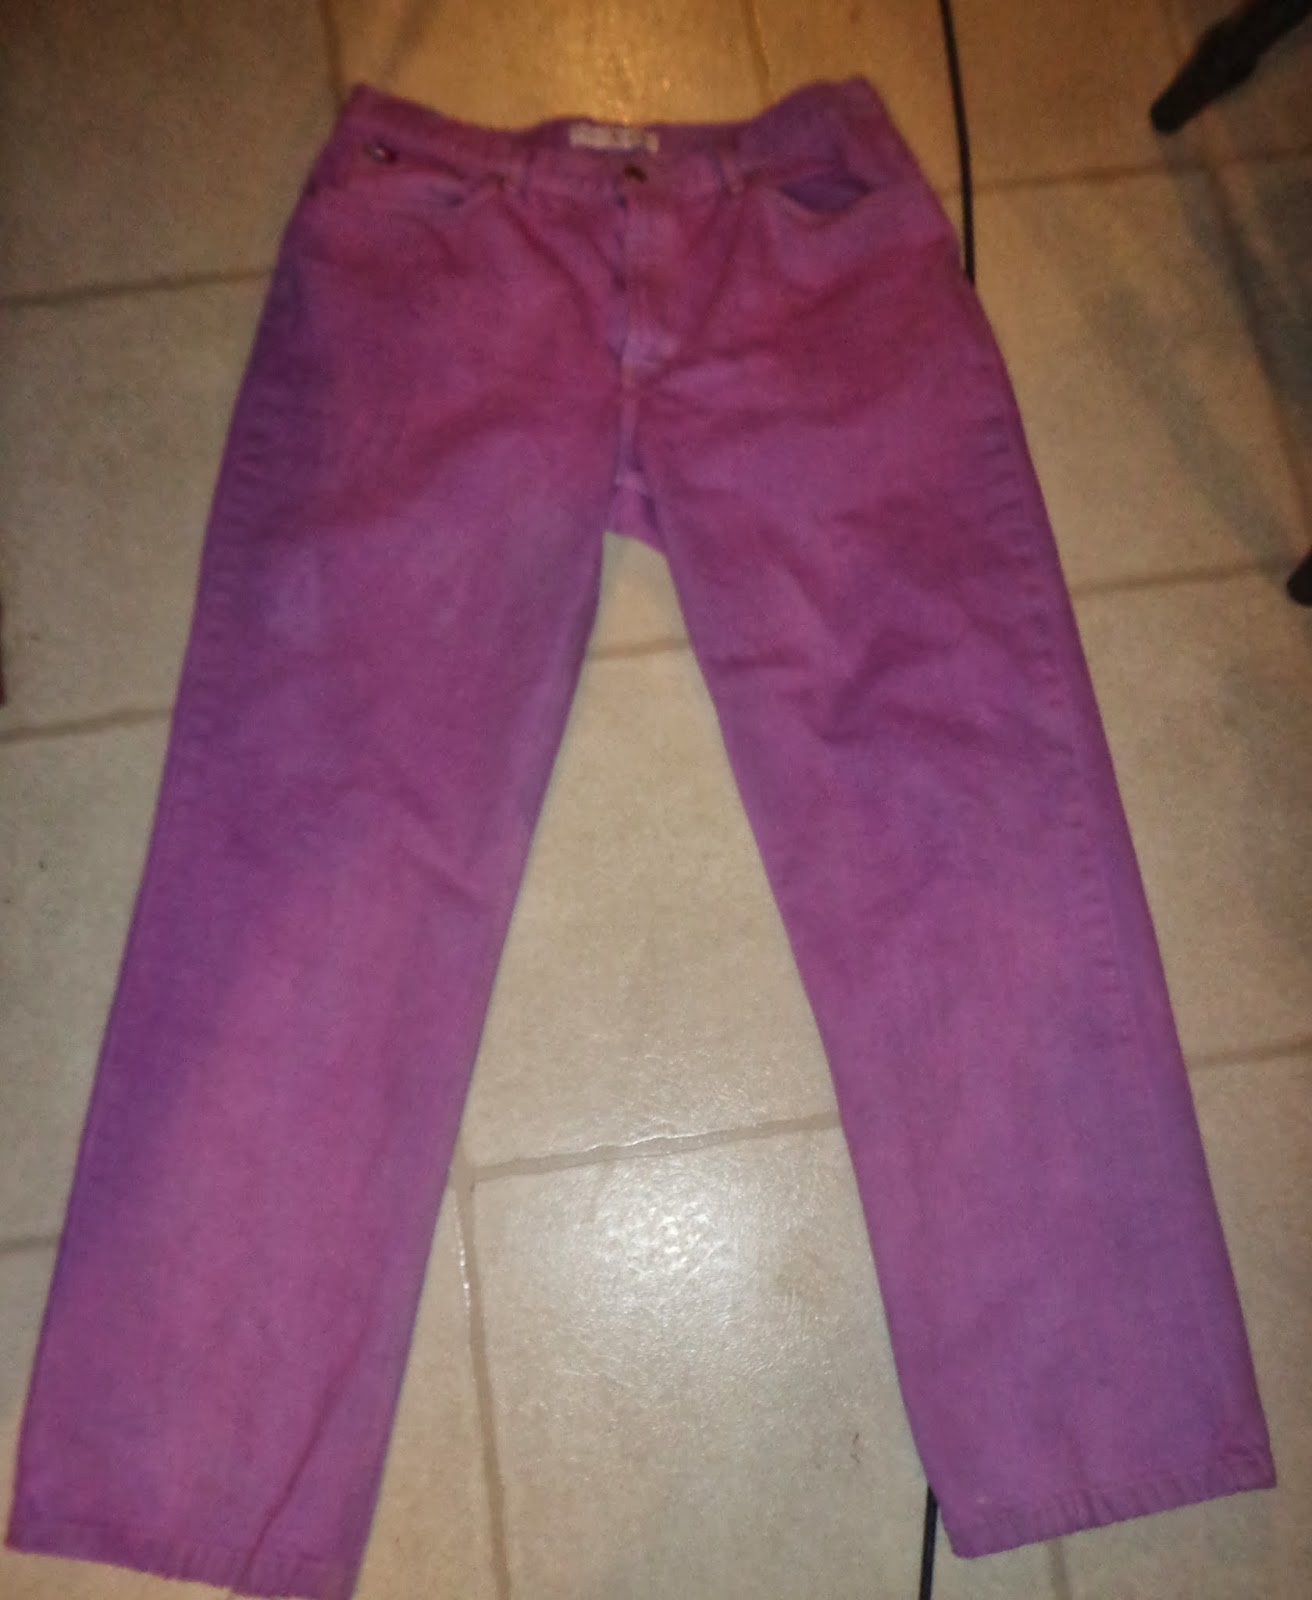


The first pair of shorts I did this time was for my jeans (capris?) I'm not sure what these were exactly. I got them at a yardsale and they are petites, so I can't decide if they are pants or capris. 
I wanted to make a nice regular hem on my shorts.


The first thing I did was try the pants on.  Then I took a white marking pencil and made a line where I wanted the final hem to be.  I also made a line 1.5" below the top line.


Next, I cut along the bottom line. On both legs.


Then I turned the (now) shorts inside out.  I made a line 1.5" above the raw edge with the white pencil.


I folded the raw edge up twice until it met up with the white line that I made. 
I pinned all around the fold to hold it in place.


I sewed close to the top of the folded edge all the way around the pant leg.


And here is the final product! 
=)


Next up...Cuffed shorts...


For this tutorial, I used a pair of my daughter's capri-type pants to transform them into a cuffed denim short. 
I purchased these at a yardsale at the beginning of summer and it looks like the previous owner must have tried to make a pair of capris from jeans.


I had my daughter try on the pants and
I marked where I wanted the final length of the shorts (while she was wearing them). Apparently, this tickled, because she started laughing uncontrollably. =)   Then I marked a line 1.5" below that line. I used a regular pencil this time because the white pencil line wasn't noticeable.


I cut along the bottom line to make shorts.


Keeping the jeans right side out,
 I folded the raw edge up twice until it lined up with the pencil line I made and pinned.


Lastly, I sewed along the top of the folded edge all around the jeans.
See how fun and cute they turned out? Love them! =) And my daughter said they are way comfy.


And finally...ruffled hem...


This tutorial also works great if you have already purchased a pair of shorts and they are too short. Or if your child's legs have gotten longer and their shorts look shorter. =) It's a great way to lengthen shorts. I suppose you could also lengthen pants or jeans this way as well.


I marked where I wanted the denim section of the shorts to end. (Pay no attention to the top line I made in the picture. This was done by mistake...I got confused, which, if I'm being honest, happens frequently when I'm sewing. =P  )


I cut along the bottom line.

The fabric I'm using for the ruffle came from a vintage sheet I got at a yard sale.  I have an obsession with vintage sheets...it's just so much material for so little money!  And I'm in love with this pattern! It's so pretty.


I measured around the pant leg and added a couple of inches. That's the length of fabric I cut from the sheet. I made the width 2" wide.  Because I'm lazy, I used the finished edge of the sheet, so I wouldn't have to hem it. =D


I sewed a gathering stitch on the raw edge of the flowered strip...this made an automatic ruffle.


With the right sides together, I pinned the raw edge of the ruffle to the raw edge of the denim.  (I overlapped a tiny bit at the end.) 

I sewed them together making sure to stitch just below the gathering stitch. 
Once I was done with that, I used a zigzag stitch on the raw edges of the ruffle on the inside of the shorts. 
The final step was to iron the ruffle down. 


Here is the end result! How cute are these?!?  I love them! They are so cutesy!

Thanks for reading! =) 


****If you have the time, please visit my zibbet.com shop! ****
www.zibbet.com/therufflybuffalo


Thanks!


Friday, February 21, 2014

A Denim Overhaul


A girl and $7.82 walk into a Goodwill....
Don't all good refashion stories start this way?  =)

My facebook friend, Robin, suggested a refashion project of bleaching and dyeing jeans a pastel color.  When I saw it, I totes wanted to try it. (Yes, I said "totes" and no, I don't care that I'm probs too old to use that slang.) 
Anyhow, I decided that I needed a pair of light purple jeans. It was a toss up between light purple and mint green. But I thought light purple would be easier to achieve. Green dye could have accidentally produced lime green or kelly green (neither of which are a good look on me.)
So I spent Tuesday morning looking through every pair of women's jeans at Goodwill.
I ended up finding a pair of Tommy Hilfiger jeans in my "Goodwill size".  What's a "Goodwill size", you ask? Well, you see, it's a size or two bigger than I normally wear. I found that I need to purchase things in my Goodwill size because alot of the clothes donated to Goodwill have been shrunk. Seriously, they should just call the place "Shrunken Treasures".  
I made sure my jeans were 100% cotton.  I read online that jeans with lycra, spandex and all that stretchy material would just shred when bleached.
So if you do this, make sure you have jeans that are 100% cotton. 
I decided on a pair of mom jeans from the 90's. 
I'm also gonna (hopefully) refashion that sweater that I'm wearing in the above picture. Which I'm pretty sure also came from the 90's.  If I put on some Bass Buc shoes and a huge gold herringbone chain and I'll feel like I'm back in high school.


To get started, I needed the following:
A big Rubbermaid tote
bleach (not color safe)
the jeans
fabric dye...I used Rit
Some sort of measuring cup (I used 1 cup)
Ignore the hydrogen peroxide...I was gonna use it to neutralize the bleach but didn't do it. 


The jeans before

Another pic of the jeans before

To start, I needed to bleach the jeans before I dyed them. 
In the tub, I mixed 3 parts lukewarm water with 1 part bleach.
I kept them in this tub for 4 hours. **Note, you might want to do this part outside or in a garage. Especially if you live in a small space. The bleach smell is strong.**


After the 4 hours, I removed the jeans, dumped out the bleach water, and put my jeans in the washer for a rinse and spin only...no detergent. Then I put them in the dryer. (I now realize I probably shouldn't have dried them...it made them pretty snug at the end of the process.)


This is how they looked after the first bleaching, rinsing, drying cycle.
A close up after the first bleaching, rinsing, drying cycle.

I added a new batch of bleach/water mix and put in the jeans.
This time I left them in there for 5 hours. Then I rinsed in the washer (no detergent) and dried them in the dryer.

This is how they look after the second bleaching, rinsing, and drying.


Another close up.
Ok, I should have actually done two more bleaching cycles. 1 for 10 hours and another for 11 hours.  However, I stopped here for 2 reasons. 
1) Since I was dyeing the jeans purple, I figured it would be ok to leave a little bit of blue on the jeans.
and
2) Do you see the white spots around the edges of the pockets in the picture below? The fabric was pretty thin there and I didn't want the bleach causing any holes.

Something that happened that I didn't expect was the bleach totally wiped the Tommy logo off the leather patch. Weird huh?


Now, onto the dye...

I used the same rubbermaid tote (I rinsed it alot after I poured the bleach water out).
I followed the instructions on the Rit dye bottle..sort of.  I mixed everything the way it said to, but it said to stir the jeans in the dye for 30-60 minutes. I did not do this. I had planned to stir the jeans for 20 minutes since I just wanted light purple.  However, when I added the jeans to the dye, it started turning, like, Barney purple within 5-7 minutes. When I realized it was already medium purple, I stopped right then.  I rinsed the jeans until the water ran clear. I did this part in my yard with my water hose. I didn't want to stain my bath tub. Once the water ran clear, I washed the jeans in the washing machine with detergent and then put them in the dryer.

When I put the jeans in the dye


After I rinsed them until the water ran clear.


What the jeans looked like after I washed them in detergent.


The jeans after the final wash and dry


The final color of the jeans


Now, to turn the Mom jeans into a lower rise straight leg jean.

First, try on the jeans inside out.  With straight pins, pin the jeans close to the leg. Starting at one ankle and working your way to the other ankle. Also pin the crotch.  I had to take the pants off to pin my jeans.  Once pinned, turn the jeans inside out to check that everything looks ok.  Also, carefully try them on to make sure the fit is ok.  Be supes careful though, I shoved a straight pin into my leg when I tried them on.


If everything looks and feels ok, it's time to sew.
Sew along the pinned line. Once that is sewn, turn the jeans right side out and try them on.  If everything is good, cut the excess fabric off.  Now sew a zig zag seam on the raw edges where you just cut. 


Like the hello kitty machine? It's actually my 6 year old daughter's machine. I had to borrow hers because the  needle on mine broke.  =(
This is what the straight seams and zig zag seams look like.


Now I have a pair of purple jeans with a lower waist and straighter legs! ( And they only cost $4.69 for the jeans and $2.96 for the dye!) 
Doesn't that sound easy? =)

I hope this tutorial made sense. I've been sick for the past 2 days and feel a little loopy. So if you have any questions about this tutorial, just ask and I'll try to help.  =) 


I rolled up the jeans a little. They were kind of long.


Thanks for reading!

**If you have some time, check out my zibbet shop!**
www.zibbet.com/TheRufflyBuffalo