

With about a yard of fabric (with a little bit of stretch) and a black bedsheet, I made this cute, little dress!

You may remember the flowered fabric from a purse I made a couple of weeks ago.
I love that I had enough left to make the top of this dress. For the bottom, I used an old black bedsheet that I had. It had a hole in it, so I put it in my sewing stash. Using sheets as sewing fabric is a fun thing to do. I like getting old sheets and pillowcases from yardsales and thrift shops. It's great because it's alot of fabric and it's usually super cheap. Which is perfect for the person just learning to sew. If you make a mistake, you won't be out a ton of money.
Here's how I made the dress:
For the top of the dress: I folded the fabric in half. I used my favorite tank top as a pattern. I laid out the tank top on the fabric and pinned it in place. I used a piece of chalk to outline the tank top.

Next, I cut along the chalk line.
I cut the front of the neckline a little lower than the back (like the tank top).

I flipped it inside out and sewed up the sides, leaving the armholes open.
At this point, I tried it on to make sure it fit and looked right.
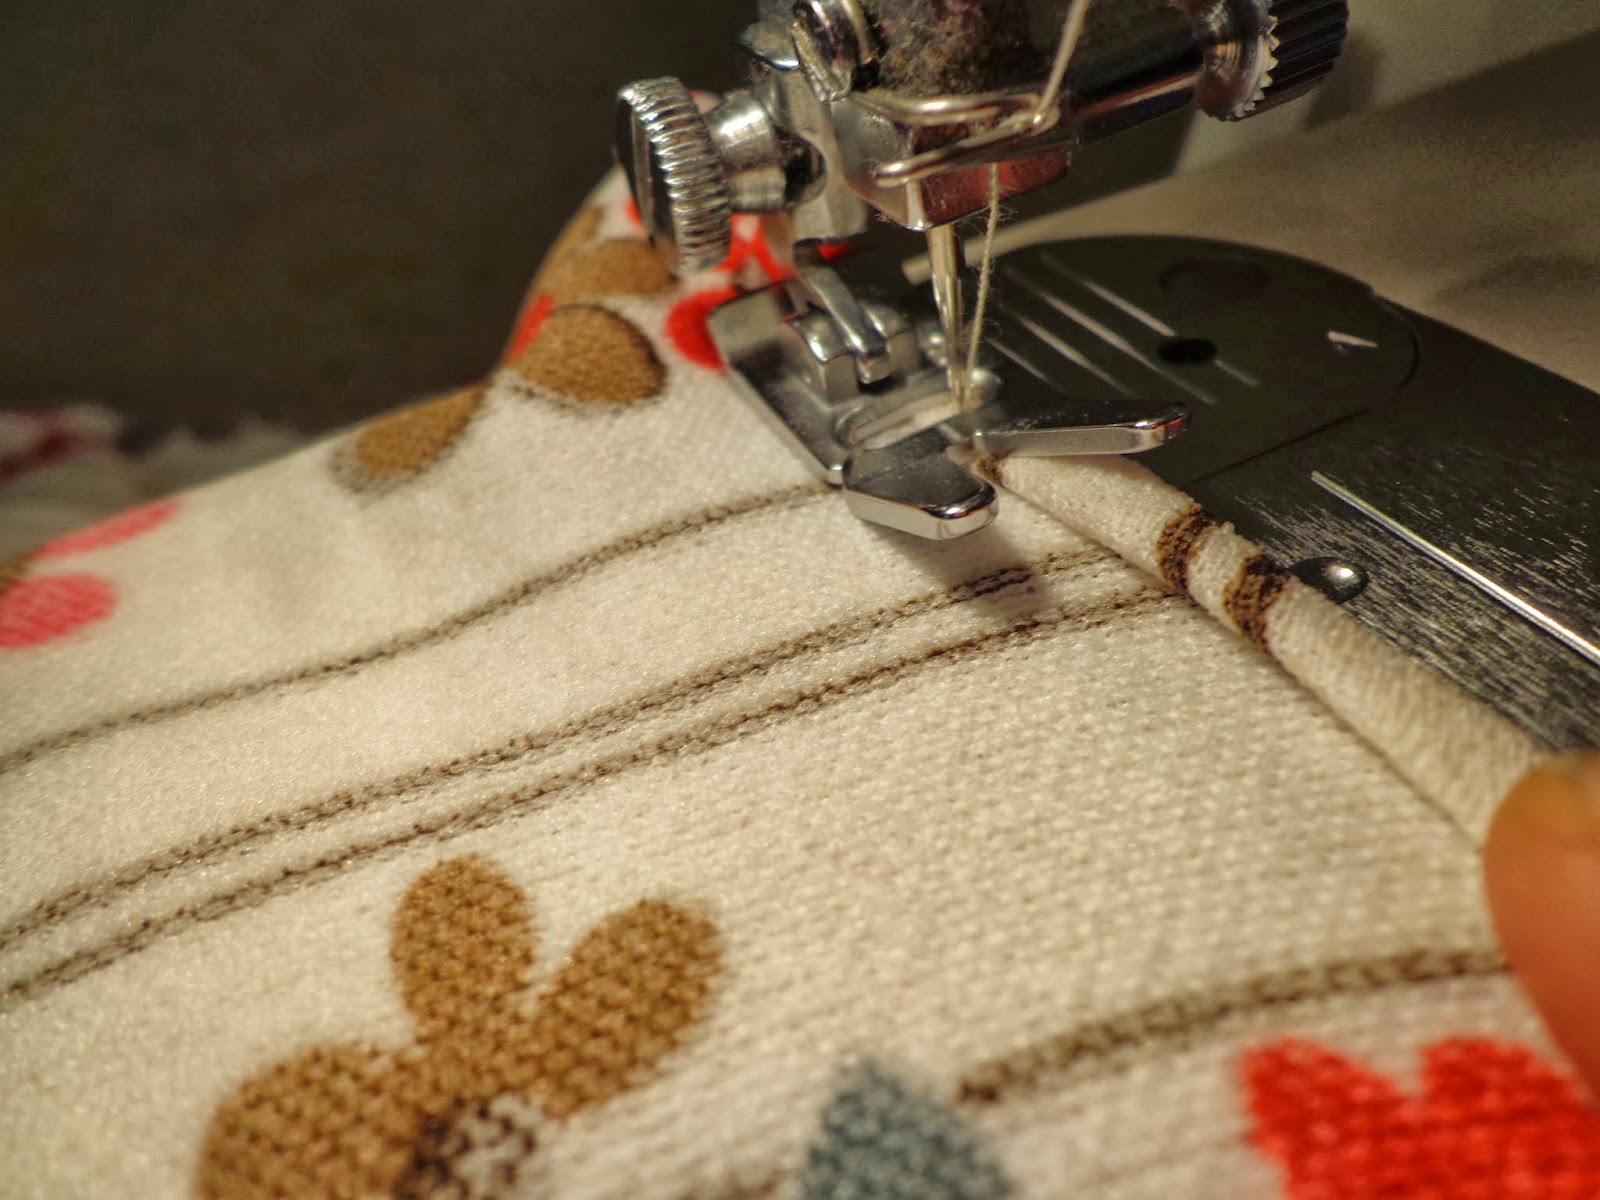
Then, I finished the raw edges of the neckline and armholes by folding the fabric under twice and sewing.
I tried it on again. With my chalk I marked where I wanted the waistline of my dress.

Ok, now onto the bottom of the dress:
I measured from the chalk line to where I wanted the hemline of my dress to be. Then I measured around where I wanted the waistline of my dress. I multiplied the waistline measurement by 1.5. My original measurements were 27" length (I like to overshoot the length...I can always shorten at the end.) and 33" waist. So I needed to cut out a rectangle from the bedsheet (I used a queen sized sheet) that was
27"x 49.5".
Once that was cut out, I folded it with right sides together and sewed up the short edges.
To keep from having any closures in this dress, I added elastic to the waist of the skirt part of the dress. To do this, I measured around my waist. I took that measurement and cut my elastic to that length. I used 3/4" elastic. When sewing the elastic to the top of the skirt, I stretched the elastic as I was sewing.
Now to attach the top to the bottom:
I trimmed the length of the top about an inch below the chalk line.
With both pieces inside out, I pinned them together. I made sure to place the pins below the elastic.


Next, I sewed along the path of the pins.
I tried on the dress. I wasn't happy with the length, so I cut the bottom to a better length.
I finished the dress by hemming the bottom.
I added a cute belt. =)
I love the fact that this dress doesn't have a zipper or buttons.
I also love the fact that this dress can be worn in the summer or winter.
For the cold weather, I can put on a cute black cardigan and a pair of black tights. =)

***If you have some time, swing by my Zibbet shop and take a look around!***
http://www.zibbet.com/TheRufflyBuffalo
I'm enjoying your blog. I appreciate you explaining with photos and clear directions what you are doing as you sew. As someone who is trying to teach herself I thank you for that. Keep up the good work, it's fun to see how you refashion.
ReplyDeleteIngrid
Thanks Ingrid! I'm glad you enjoy my blog! =)
Delete