Saturday, October 5, 2013

Easy Tunic Tutorial


I have had this fabric for a while now.


 I believe I bought it at a yardsale last year. I know I didn't spend alot. I think it was less than a dollar.  And I'm not sure how much there was. If I had to guess (and that's what I'm doing because, like an idiot, I didn't measure this before I started cutting), I would say it was about a yard of fabric.
I knew I wanted to make something to wear. I've searched and searched for the perfect tutorial, and I never really found one I was in love with. So today, I decided to make a tunic for my daughter without the help of a tutorial.  What I really love about this is I didn't have to put in sleeves!  
The materials I needed for this were:
Fabric- I had about a yard of knit fabric...but it just depends on the size of the shirt 
Thread - a color that goes with your fabric
Elastic - I used 1/4" wide for the sleeves and 1/2" wide for the waist
Scissors
Stick Pins
Sewing Machine
Measuring Tape
And a tshirt that fits to use as a pattern
I folded my fabric in half. I pinned the open sides together so the fabric wouldn't move around while I was cutting out the tunic.
I grabbed a tshirt from my daughter's closet. I chose one that fit comfortably and was a little long on her.
I lined up the shoulders of the shirt on the fold of the fabric. 
 I pinned the shirt down face down. I used a piece of red chalk to outline the tshirt.  I left about an inch between the top of the shirt and the outline. This was to make sure the tunic was a little loose and for a 1/4" seam allowance  I drew a curved line where the armpit is. From the armpit to the bottom of the shirt, I flaired out my outline. I wanted the shape to be more like a dress than a tshirt.  I freehanded the outline.  Once I finished outlining, I marked where the neckline of the tshirt was with 2 chalk marks.
Next, I cut along the chalk line. Be sure to keep the shoulder seams uncut, so once it's cut out, it will be all one piece. 
I cut the neckline into a boatneck style. I did this by measuring about 1/2" from the chalk mark I made at the neck and scooping down just a little until I reached 1/2" past the other chalk mark on the neckline.  
To sew the tunic, I flipped it.  With the right sides together, I sewed up the sides, bottom of the sleeves and at the top of the sleeves.
At this point, I had my daughter try it on to make sure I didn't make any mistakes.
While she had it on, I measured from her shoulder to a little above her waist.  This is where I will place the elastic. 
With the shirt inside out, I chalked a straight line where I decided to put the elastic. This will be the guide used when sewing the elastic into the tunic. This line needs to be straight all the way around or it will be noticeable once the elastic is sewn on.  
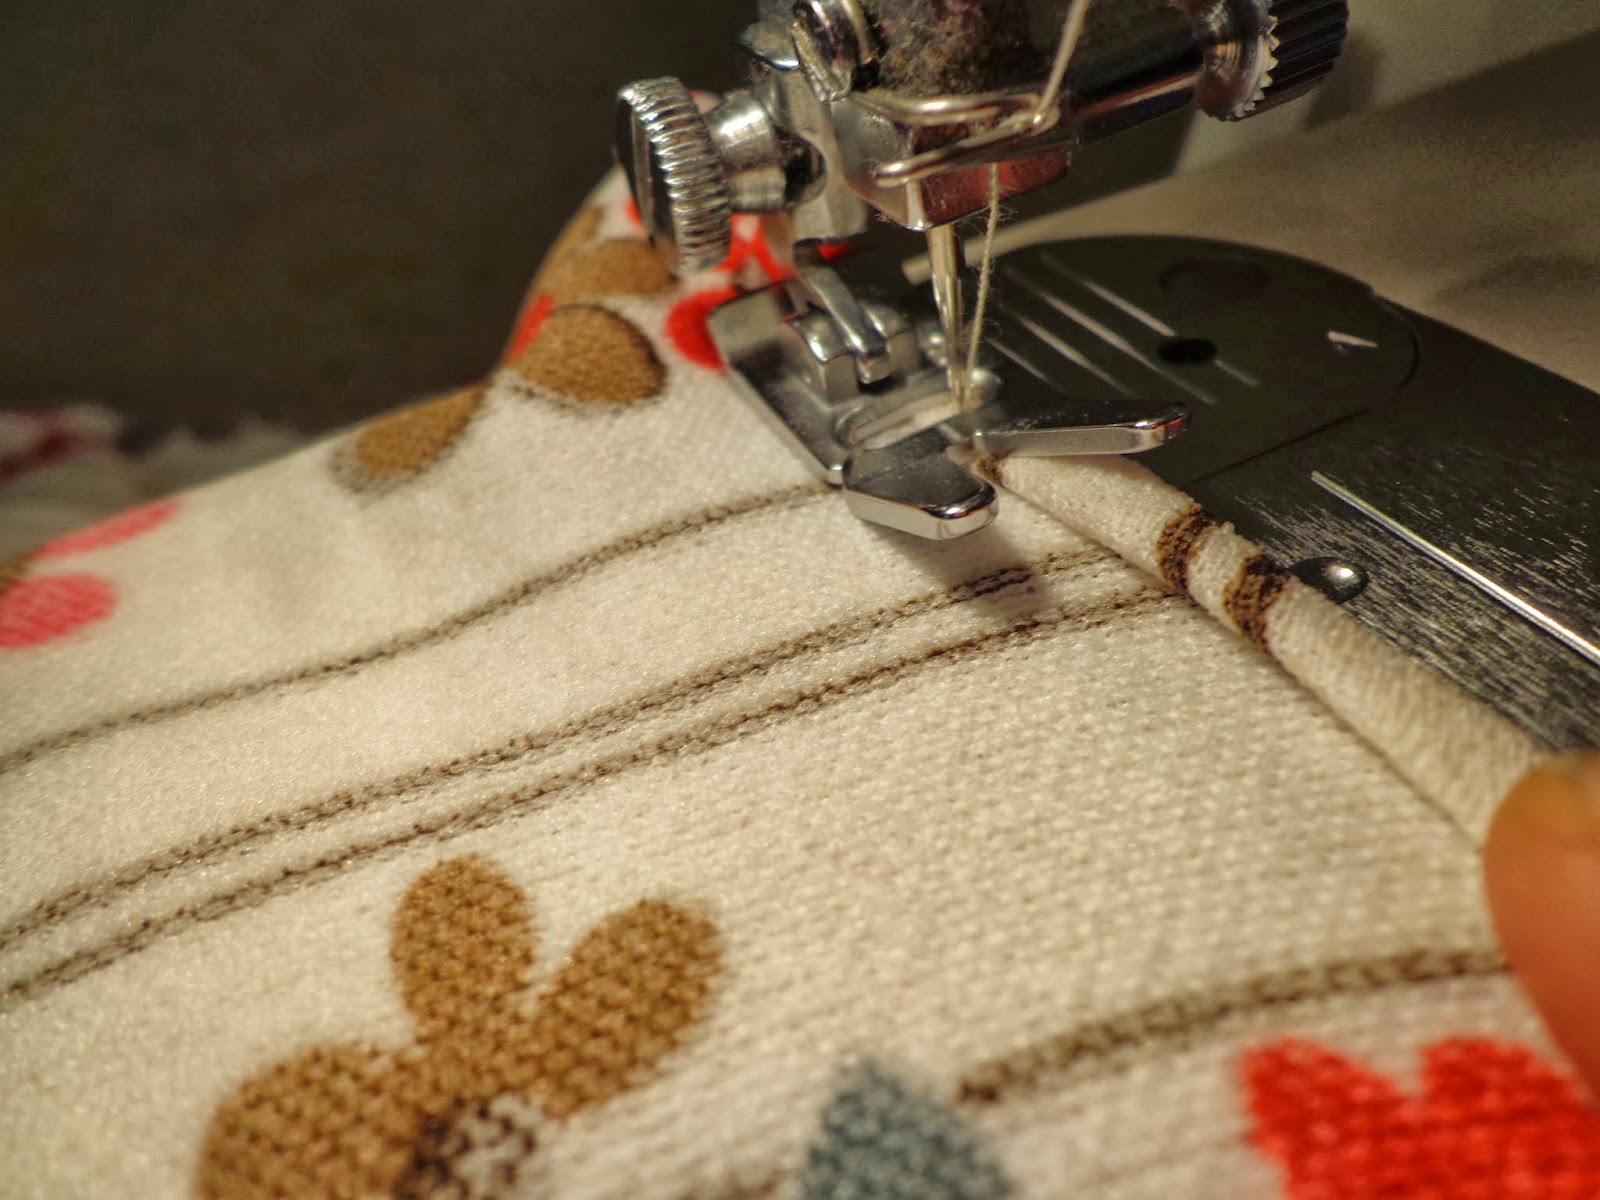
I measured around my daughter to get a measurement for the elastic. I subtracted 1 inch from this measurement.  I cut the elastic that length.  I pinned the end of the elastic to the side seam of the shirt and started sewing all the way around. I stretched the elastic while sewing to give it a gathered look.  When doing this, remember to stretch the elastic with one hand and guide the fabric through the machine with the other.
This is what it will look like on the inside after the elastic is sewn on.
When I sewed all the way around, I had my daughter try on the shirt AGAIN to make sure it looked even.
With the tunic inside out, I sewed a small piece of elastic (probably 3-4" long) on the top seam of the sleeve. I did this by stretching the elastic while sewing.


This is how it should look after the elastic is sewn on


The only thing left to do was finish the raw edges of the sleeves, neckline, and bottom of the tunic.
This tunic from start to finish only took about an hour, but it is super comfy and totally adorable! =)


***If you have some time, swing by my Zibbet shop and take a look around!***
 http://www.zibbet.com/TheRufflyBuffalo


Thursday, October 3, 2013

Super Cute Dress Tutorial


With about a yard of fabric (with a little bit of stretch) and a black bedsheet, I made this cute, little dress!         


You may remember the flowered fabric from a purse I made a couple of weeks ago.
I love that I had enough left to make the top of this dress.  For the bottom, I used an old black bedsheet that I had.  It had a hole in it, so I put it in my sewing stash. Using sheets as sewing fabric is a fun thing to do. I like getting old sheets and pillowcases from yardsales and thrift shops. It's great because it's alot of fabric and it's usually super cheap.  Which is perfect for the person just learning to sew. If you make a mistake, you won't be out a ton of money.

Here's how I made the dress:

For the top of the dress: I folded the fabric in half.  I used my favorite tank top as a pattern. I laid out the tank top on the fabric and pinned it in place. I used a piece of chalk to outline the tank top.


Next, I cut along the chalk line.
I cut the front of the neckline a little lower than the back (like the tank top).


I flipped it inside out and sewed up the sides, leaving the armholes open.
At this point, I tried it on to make sure it fit and looked right.

Then, I finished the raw edges of the neckline and armholes by folding the fabric under twice and sewing.


I tried it on again. With my chalk I marked where I wanted the waistline of my dress.


Ok, now onto the bottom of the dress:

I measured from the chalk line to where I wanted the hemline of my dress to be.  Then I measured around where I wanted the waistline of my dress.  I multiplied the waistline measurement by 1.5.  My original measurements were 27" length (I like to overshoot the length...I can always shorten at the end.) and 33" waist.  So I needed to cut out a rectangle from the bedsheet (I used a queen sized sheet) that was
27"x 49.5".
Once that was cut out, I folded it with right sides together and sewed up the short edges. 
To keep from having any closures in this dress, I added elastic to the waist of the skirt part of the dress.  To do this, I measured around my waist. I took that measurement and cut my elastic to that length. I used 3/4" elastic.  When sewing the elastic to the top of the skirt, I stretched the elastic as I was sewing.
                                  
              Now to attach the top to the bottom:                                                
I trimmed the length of the top about an inch below the chalk line. 
With both pieces inside out, I pinned them together. I made sure to place the pins below the elastic. 
Next, I sewed along the path of the pins. 
I tried on the dress. I wasn't happy with the length, so I cut the bottom to a better length.
I finished the dress by hemming the bottom.

I added a cute belt. =)
I love the fact that this dress doesn't have a zipper or buttons.
 I also love the fact that this dress can be worn in the summer or winter.
For the cold weather, I can put on a cute black cardigan and a pair of black tights. =)


 ***If you have some time, swing by my Zibbet shop and take a look around!***

 http://www.zibbet.com/TheRufflyBuffalo


Monday, September 23, 2013

The Prettiest Way To Wear Sweats


Ahh, Sweats.  So soft, so comfy.  Totally unattractive.
Not anymore. I decided to transform this pair into a cute skirt! 
First, I cut off the sweats to a reasonable skirt length. Next, I grabbed my seam ripper and took out the seams of the crotch and legs.
It looked like this:
I turned the "skirt" inside out, and pinned up the seam to make it straight.
Then I sewed along those pins.


I did that to the front and the back.

Now, onto the ruffle.  I used the legs of the pants that I cut off.  I cut the cuffs off of the legs, and opened up the legs by cutting up the leg seam.


Next, I cut strips about 3"-4" wide from the legs.  I sewed them together to make one long strip.  Once I did that, I put a gathering stitch in the strip to make the ruffle. I did a gathering stitch by putting my thread ease on 9 and my stitch length on 5.

Then I attached the ruffle to the skirt. I did this by having the skirt right side out and pinning the ruffle on the outside of the skirt with the right sides of the ruffle and skirt together.
I sewed the ruffle on.


And this is what the comfy sweats look like now:


Pretty right?
Now it's possible to wear Sweats to the office. ;)


The new prettier way to wear sweats and a tee!  =)

**If you have some time, swing by my Zibbet shop and take a look around!**
www.therufflybuffalo.com

Thanks! =D


Wednesday, September 18, 2013

Tunic Refashion From a Dress


This dress has been in my sewing stash for months. I forgot I even bought it. I remember getting it from Goodwill for $1.  The tag on this dress was from "Blair" and the size was SML.  It started out as a dress, but one that seemed to have been shrunk in the dryer, because it was way too short. 

The first thing I did was remove that weird embroidered collar. I just cut it off.  However, I did leave a little extra on the edge so it could be folded under and sewn.


Before the cut ^^^^
This is what it looked like after it was all cut off.

Next, I pinned the neckline under and sewed up the raw edges.


 Once I was finished with the neckline, I moved onto the waistline.  It was shapeless before.  I decided to gather it with elastic.  Before putting the elastic in, I chalked a straight line across both sides of the shirt.  I sewed a few stitches in the elastic to keep it in place and while pulling tightly on the elastic (and making sure to stay along the chalk line) I sewed the elastic to the dress.  This creates that gathered look.


 To shorten the hem, I tried on the dress on to get the desired length. I marked it with a pin, removed the shirt and pinned across the bottom of the dress.  I trimmed it and sewed a new hem.

For the next step, I forgot to take pictures.  (Sorry)  I thought the shirt needed something else. I chose to ruche the sleeves.  To do this, I just cut a small piece of elastic and pinned it to the shoulder seam on the inside of the sleeve. I used the same technique I used for the waistline. I stitched the elastic in place and pulled tightly as I sewed it down the length of the sleeve.
And thats all there is to it.
I'm wearing a white tank top under this shirt, because when I cut off the collar and flowers, the neckline was way too low.
Now I have a cute top for fall that's comfy and is gonna get alot more wear than that dress it once was. =) 


 ***If you have some time, swing by my Zibbet shop and take a look around!***
www.therufflybuffalo.com

Thanks! =D


Monday, September 16, 2013

Turn An Oversized T-Shirt Into A Cute Fitted Tee

I scored this "gently used" tshirt at a yard sale this summer for 25 cents!
Now, I don't have any interest in college football. However, I've lived in West Virginia all my life, and I feel that I need to pick a side - Marshall University or West Virginia University.  My choice was simple. I look better in gold than green. =) 
**I do like the Washington Redskins (but only because my boyfriend does), so I really need to find a Redskins tshirt to do this to.**
To make this shirt more fitted, I had to move the shoulder seam. It was going half way down my arm. I put the shirt on inside out, and marked where the new seam should go with a piece of chalk.  I marked it all the way to the bottom of my armpit. Then I cut along the chalk line.


Next, I slid the sleeve (the part that I cut off) on my arm and pinned it for a comfortable fit. I sewed and trimmed the excess fabric. Then I pinned it to the armhole on the shirt and sewed it back on.


Once I finished the sleeves on both sides, I tried the shirt on inside out and pinned the sides to make the shirt fit better. 


Then I sewed up the sides. I trimmed the excess fabric.
Now, on to the ruching!!! (My favorite part!)
I used 1/4" elastic.  I chose to ruche the sleeves and the sides of the shirt.
I started by attaching the elastic with a few stitches, then I pulled the elastic super tight while I was sewing it to the shirt.


And this is how the ruching looked when I was finished.


Once I was finished, I realized that the shirt was still too long for my taste so I cut the original hem off. Since this is a t-shirt, I didn't have to re-hem it. I just stretched it a little and it rolled up.

Now it's perfect! I think I'm gonna start doing this to all of my oversized tshirts! =)


Thanks for reading!

Feel like reading another great blog? 
Go here:  www.girlmeetsgrace.com  
Jen Chapman is a writer who posts blogs that will make you laugh and think! She's great and so is her blog! It's my favorite! 😊
Check it out and follow her. You won't regret it. 

Feel like shopping? 
This is my online store. I design and handcraft jewelry and accessories! Buy my stuff, so I can pay my bills 😉 
You won't regret that either. 

Thursday, September 12, 2013

My New Pretty Purse

 My New Purse!


                                                      Where it all began....


I got these two fabric remnants at a thrift shop this past Friday. They were only 99 cents each!  Not sure what kind of fabric the one on the left is. Maybe some weird polyester blend or something. All I know is that it feels sorta like polyester, has a tiny bit of stretch to it, and when I tried to iron a small piece of it, it disintegrated. (OOPS!)
The fabric on the right, is black corduroy.  It came from Piece Goods.


 I used to love that store! My mom took me in there a few times when I was a kid.

I immediately went on a pinterest search for the perfect sewing project that I could make with my new fabric.

I decided to make a new purse. I've been using the same purse for 2 years now. I bought it at Gabes for $15 (I think) and it's held up great! And while I still love it. I'd like to change things up a bit this fall.  


I found the perfect tutorial from  Crafty Vegas Mom. You can find it here.


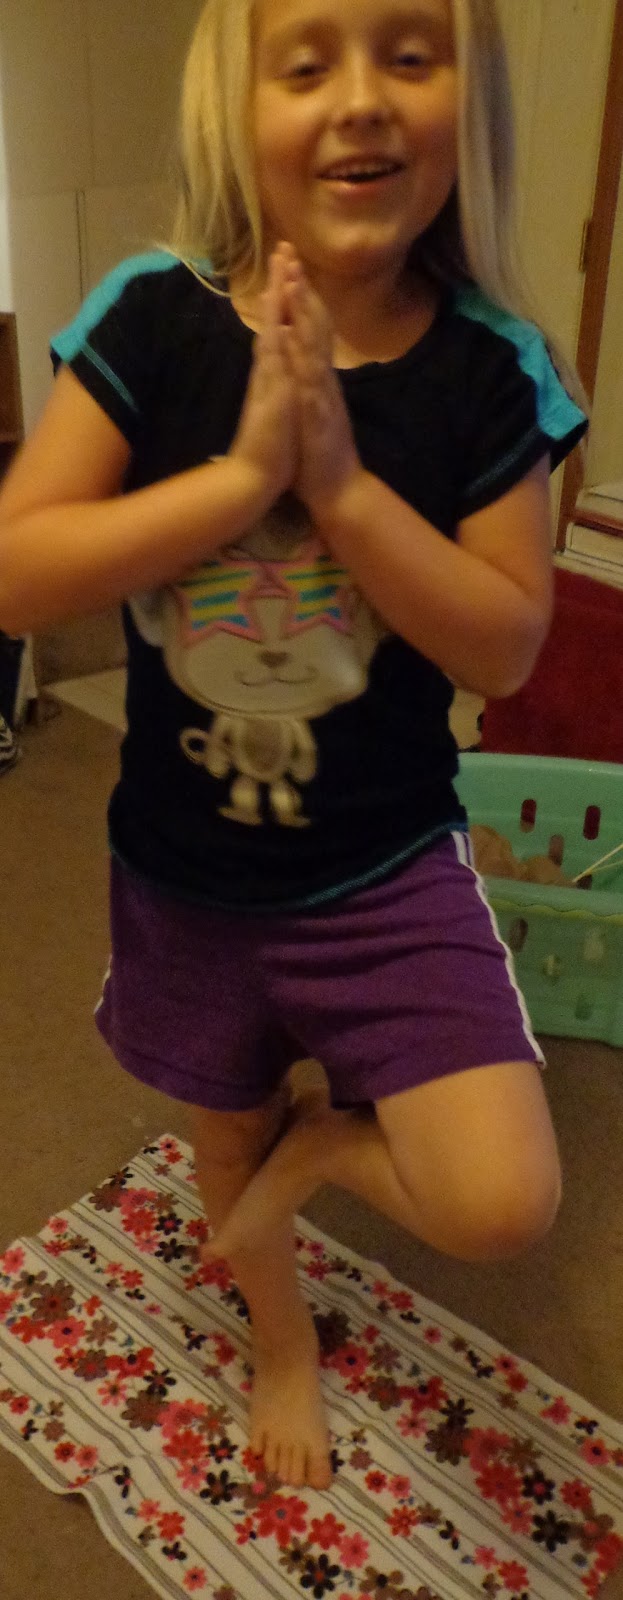
While I was cutting the fabric. My 6 year old daughter asked if she could have some of the flower fabric.  A few minutes after I handed it to her, this is what I saw....


She used it as a Yoga mat. lol  I believe she was in the middle of saying "Ohm" when I took this picture. hehe  She makes me laugh.

For the Bow on the front....I used this idea. Only, I made mine really big. I didn't measure anything. I just eye-balled it. (I tend to do that alot).  To attach it to the front, I took a needle and thread and tacked it on with 3 stitches going down each side and 2 stitches in the middle. 

And now I have an awesome new bag that only cost $2 !
Pretty right? =)


***If you have some time, swing by my Zibbet shop and take a look around!***
http://www.zibbet.com/TheRufflyBuffalo
Thanks! =D